
HYPER-V IS A FEATURE OF WINDOWS SERVER EDITIONS AND NOW IT IS INTRODUCED IN WINDOWS 8
Before you start make sure that your machines supports Hardware Server Virtualization and that it has has been enabled in the BIOS
GO TO ->CONTROL PANEL->PROGRAMS->
Once the Programs and Features dialog opens, select the Turn Windows features on or off link on the left hand side.

When the Windows Features open, check the Hyper-V option. Then click Ok.

Windows will now add the Hyper-V binaries to your Windows installation.

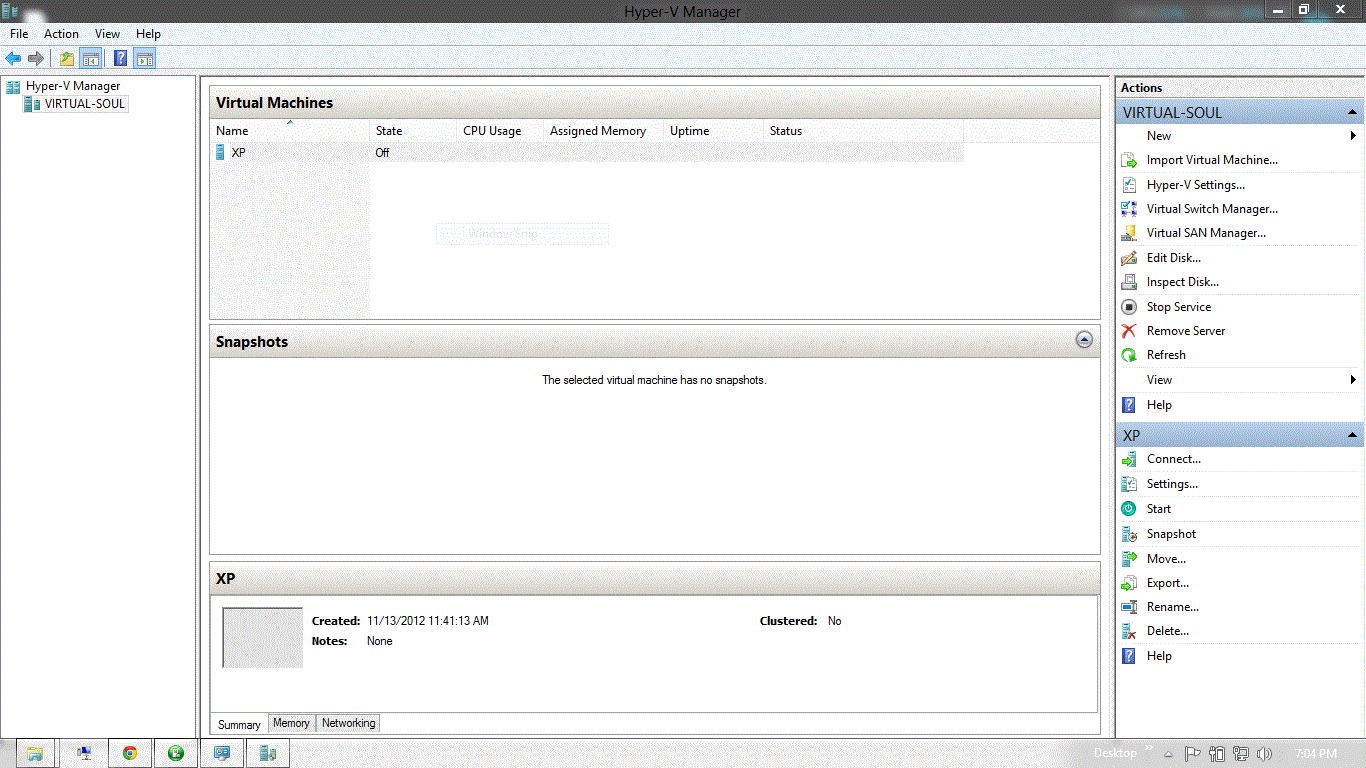
To begin, just press the [Windows] key to bring up the Start Screen. Then, type Hyper and press [Enter] when Hyper-V Manager appears

After you launch the Hyper-V Manager, navigate to the Actions pane and select the New | Virtual Machine command. When the first screen of the New Virtual Machine Wizard appears, just click the Finish button

When you see the new virtual machine appear in the Virtual Machines list, right click the name and rename it to something like XP Virtual Machine, then go back to the Actions pane and click the Settings command
When the Settings window appears, you’ll see that there are a multitude of settings that you can configure to customize how your virtual machine will work. For the purposes of this article, I’ll just cover the basic settings that you need to get started with your Windows XP virtual machine.
Because Windows XP is an old operating system, it isn’t compatible with Hyper-V’s network adapter. As such, the first thing that you will need to do is add a legacy network adapter. Select the Legacy Network Adapter item and click the Add button.

When you do, Hyper V will add the Legacy Network Adapter to the Hardware list and immediately take you to that section. Since I already created a virtual switch for my last article, I’ll select the Test 1 Virtual switch from the virtual switch drop down Then, click Apply to save your changes. If you haven’t already set up a Virtual switch for the Network Adapter, you can do so at any time.

Now, move up the Hardware list and select the Memory section. I’m going to specify 1GB of RAM for my XP Virtual Machine. As you can see , I’ve specified 1024 in the Startup RAM text box and left the Enable Dynamic Memory check box unselected. Even though the text box is titled Startup RAM, in the case of the Windows XP operating system, this will be the total amount of available RAM.
In other words, it will essentially be static memory. Being an older operating system, Windows XP is not supported by Hyper-V’s Dynamic Memory feature, so you’ll need to leave that check box unselected. The Memory Weight slider is designed to allow you to prioritize memory usage but it is related to the Dynamic Memory feature and so in the case of Windows XP we’ll just leave it as it is in the middle.

To continue, go ahead and click Apply to save your settings. Then move down to the IDE Controller 0 | Hard Drive section.
When you arrive at the Hard Drive section, as shown, the only thing that you may want to do is increase the size of the hard disk. By default, the hard disk is set to 127GB in size. For this example machine, I want to increase the size of the hard disk to 500GB. To do so, click Edit button.

Installing Windows XP :
Installing Windows XP in a Hyper-V virtual machine is easy. To begin, insert the Windows XP CD in the drive, go back to the Actions pane in the Hyper-V Manager, scroll down to the virtual machine section and click the Connect command. When you do, you’ll see a virtual machine window that tells you that the machine is turned off. At this point, just click the Start button on the menu bar, as shown

Click the Start button on the virtual machine window’s toolbar.
You’ll then see the installation begin the Windows XP Setup screen.

Seeing the basic looking Windows XP Setup screen in Windows 8 is quite a stark picture.
Once the installation is complete, you’ll see the Windows XP desktop in a virtual machine in Windows 8, as shown

No comments:
Post a Comment